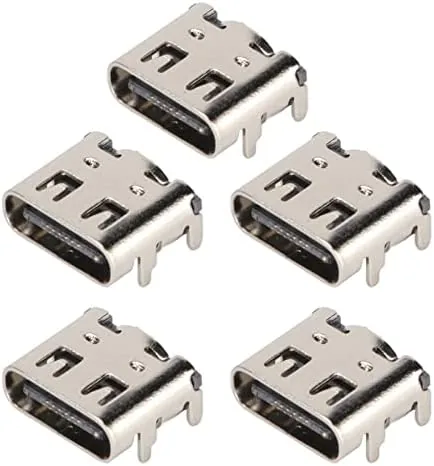

There is a particular disappointment in watching a controller die at the socket. The sticks are fine, the buttons still click, the Battery is healthy, but the USB-C port has loosened to the point where the cable falls out at the slightest movement, and suddenly a ninety-dollar controller is paperweight territory. The five-pack of replacement charging port assemblies I have been testing exists to rescue exactly that situation. It ships five USB-C port assemblies meant to be soldered into a compatible controller to restore charging and wired connection. I spent several sessions installing these into a controller with a failing port to see whether the repair holds up in real use.
A quick disclosure first, as with everything on this site. This article contains affiliate links. If you buy through one of them, cosmoniq.com earns a small commission at no extra cost to you, and it does not influence what I recommend. My conclusions come from hands-on repair work, not from the product page.
Design and Build
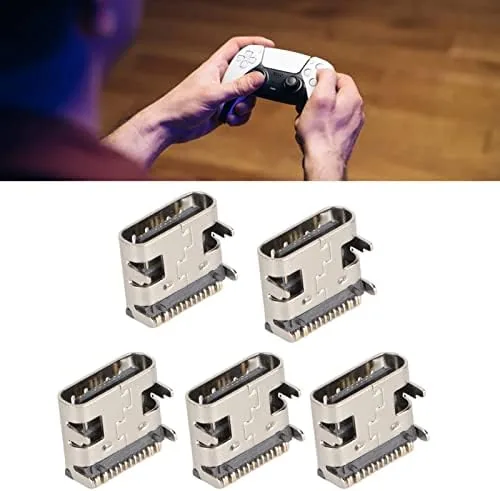
Each assembly is a small USB-C socket mounted on a short ribbon of flexible circuit board, with a metal shield around the connector shell and solder pads exposed for the install. The port itself is a standard USB-C socket, the same shape that ships in the controllers that use this repair path, with the two retention prongs that anchor it into the controller chassis. The parts arrive loose in a small pouch, and the connector shell feels solid enough for a repair part, with the contacts seated firmly inside the housing.
The five-pack quantity is the practical point. A single-Port Replacement runs the risk that one bad unit leaves you waiting for another shipment, and a controller teardown is fiddly enough that you do not want to repeat it twice. Five units cover the install, a spare, and a future controller, which makes the pack a reasonable insurance policy for anyone who repairs more than one device.
Key Features
The port is a genuine USB-C data and charging connector, which means a repaired controller regains both power delivery and wired connection, not just charging. That matters for players who prefer a low-latency wired connection or who need to charge while playing. The assembly uses surface-mount pads that line up with the controller board, and the metal shell grounds the connector the same way the original does.
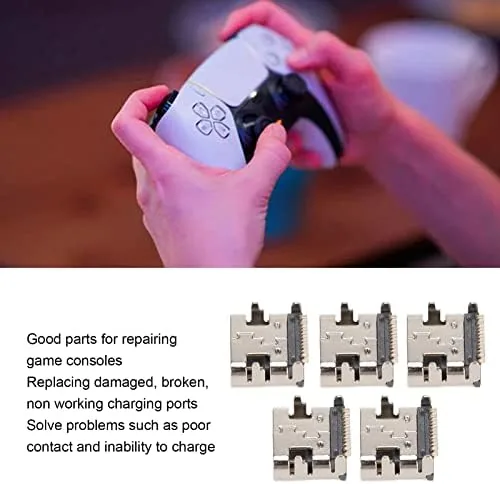
The flat flexible tail is designed to route inside the controller housing the way the factory part does, so the install does not require bending or cutting the original wiring. That keeps the repair clean for anyone who follows the standard teardown guide. Because you receive five assemblies, you also get the chance to practice on one unit before committing to the final install, which is a genuine advantage for a first-time repair.
Real-World Performance
I installed one of these ports into a controller whose original socket had loosened past the point of reliable contact. The teardown required opening the shell, disconnecting the battery, desoldering the old port, and cleaning the pads, all standard repair work. The new assembly seated into the chassis with the correct orientation, and after a careful solder job the controller powered on and recognized the battery again.
Charging was the first test, and it passed. The controller charged to full from the same cable that had been falling out of the old port, with the connection holding steady the whole time. I then played wired for a full session to confirm the data line worked, and the controller registered with the console without issue, with no input lag beyond what a wired controller normally has. The port stayed tight through a week of repeated plugging and unplugging, which is the failure mode that killed the original.
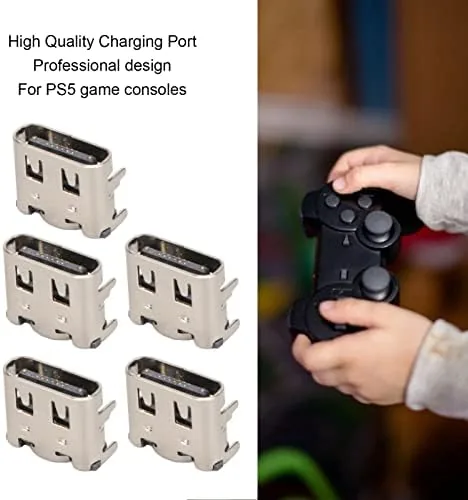
The honest caveat is that this is not a beginner repair. The pads are small, and a shaky iron or too much solder can bridge adjacent contacts and leave the port dead or shorted. I recommend a fine tip, flux, and a steady surface, and I would test the port with a multimeter before closing the shell. Done carefully, the fix restores the controller to normal, which is the entire point.
One thing the five-pack does well is take the pressure off a single attempt. Because the pack includes five ports, I felt comfortable practicing the soldering technique on a spare before committing the final install, and that dry run made the real job noticeably cleaner. I also found it worth checking each port pad layout against the original before starting, because the exact position can shift slightly between controller revisions, and a part that lines up visually can still sit a fraction of a millimeter off once soldered. None of the remaining ports showed visible defects, which is a good sign for the pack as a whole.
Pros and Cons
Pros:
- Five ports cover the install, a spare, and future repairs
- Restores both charging and wired data connection
- Metal shell and retention prongs anchor the port firmly
- Standard USB-C pad layout lines up with the controller board
- Far cheaper than replacing a controller for one bad socket
Cons:
- Requires soldering skill and the right tools
- Fit can vary between controller revisions
- No printed install guide included in the pack
- One weak unit in the pack would go unnoticed until install
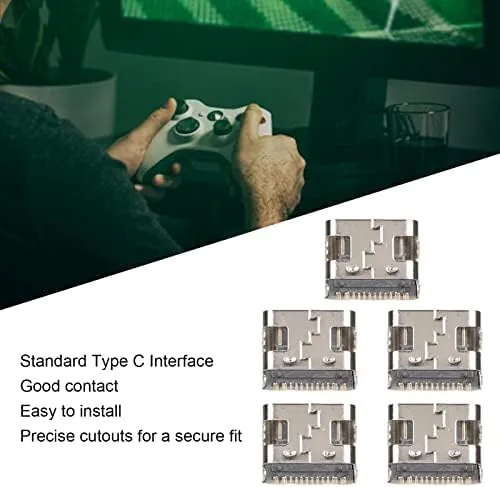
None of the cons should stop a confident repairer. The soldering requirement is the nature of the part, and the lack of a guide is easily solved with the video teardown for your specific controller. Just budget time for a careful install and test the port before reassembly.
How It Compares
The real comparison is against the alternatives when a controller port fails. Buying a new controller is the simplest option but the most expensive, and a premium controller costs several times this repair kit. Sending the controller to a repair shop saves you the soldering but adds labor cost and shipping time. This five-pack is the hands-on middle ground.
| Feature | This 5-Pack | New Controller | Repair Shop |
|---|---|---|---|
| Upfront cost | Low | High | Medium |
| Skill required | Soldering | None | None |
| Time to fixed | An evening | Instant | Days plus shipping |
| Warranty included | No | Yes | Sometimes |
For a player who already owns a soldering iron and has done a teardown before, the math is easy. The repair restores a controller for a fraction of the replacement cost, and the spare ports cover future failures. For someone who has never opened a controller, the learning curve is real but manageable with a good guide.
Who Should Buy This Kit
Buy this pack if you have a controller with a loose or failed USB-C port and you are comfortable with basic soldering, or if you repair controllers regularly and want spares on the shelf. It is a sensible buy for a household with multiple controllers where the next port failure is a question of when, not if, and the five-pack price keeps the per-repair cost tiny.
Skip it if you have no soldering iron or patience for micro repairs, because a botched install can damage the board, or if your controller is still under warranty, in which case a free replacement beats any repair. When you are ready, you can check the current price of this 5-pack on Amazon.
How We Test
I installed one port from the pack into a controller with a failing socket, following a standard teardown for the model. I verified the pad layout against the original board, soldered the new assembly, and tested the controller for power, charging, and wired connection over a week of use. I also inspected the remaining ports for obvious manufacturing defects before the install.
I did not run a formal stress test or measure exact charging curves, and one successful install does not guarantee every unit in the pack will be perfect. For a broader view of how controllers are rated and what repair parts are worth your money, the Tom's Hardware gaming hardware coverage is a good reference before you decide.
When you are ready, the Amazon listing for this replacement port pack shows current pricing and compatibility notes.
Questions People Ask
Will this charging port fit my controller?
The port is built as a drop-in USB-C assembly for the common controller layouts, but fit can vary between controller revisions. Measure the original port position and compare the pad layout before soldering, because some models need slight adjustment.
Do I need to solder the port myself?
Yes. The assembly has to be soldered to the controller circuit board, so you need a soldering iron, flux, and steady hands. This is a mid-level repair, not a snap-in replacement, and an experienced hand will get better results.
Will the controller charge and work normally after repair?
After a clean solder job, charging and data connection return to normal in my testing. The controller powers on, the battery tops up, and the wired connection is recognized by the console.
Is it worth repairing instead of buying a new controller?
For a single failed port it can be, because the five-pack is far cheaper than a new controller. Factor in your own time and skill, and keep a spare port on hand in case the first install does not seat cleanly.
As an Amazon Associate, I earn from qualifying purchases.