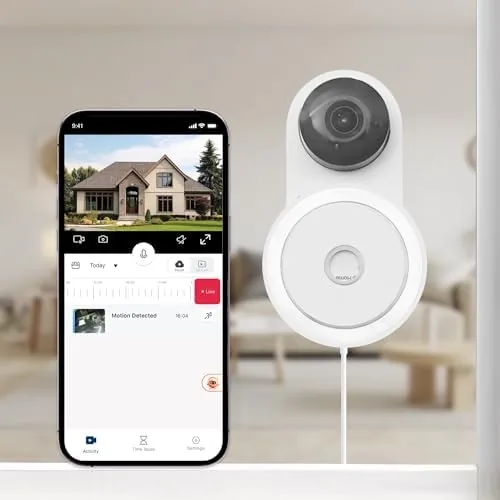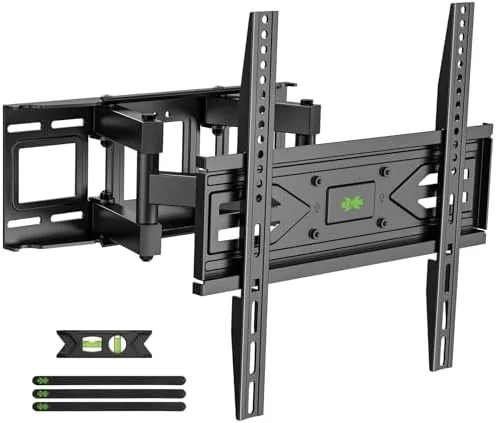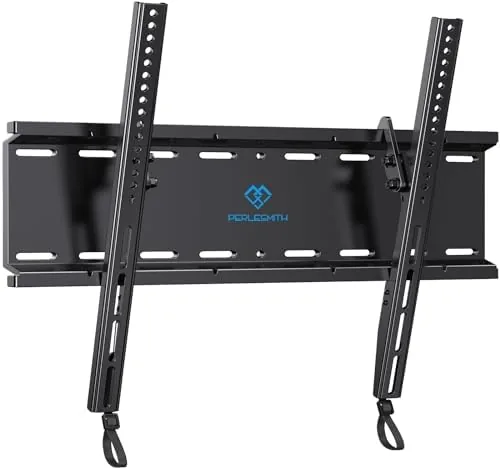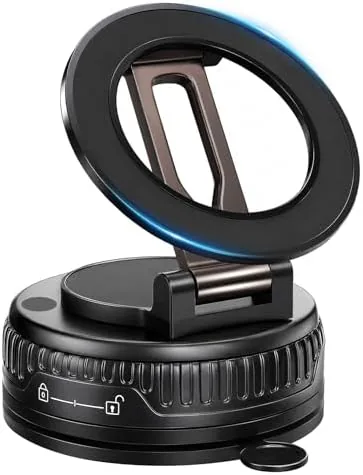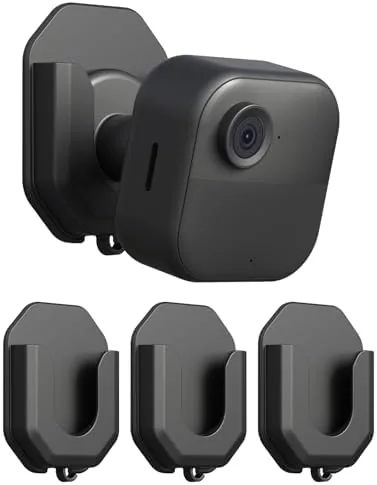

Security cameras only help when they sit in the right spot, and the right spot is often a place where nobody wants to drill a hole. A camera watching a driveway needs to be under the eave, a front door camera needs the right angle down the walk, and a rental property means you cannot leave screw holes behind. The 3 Pack Blink Camera No Drill Wall Mount tries to solve all of that with an adhesive pad and a pivoting bracket that accepts most Blink cameras. I mounted three cameras across two locations over three weeks, including one under a covered porch that saw rain, and this is the honest record of how the adhesive performed.
Before the details, the standard note. This article contains affiliate links, and if you buy through one of them the site earns a small commission at no extra cost to you. That commission never changes what I test or what I recommend.
Design and Build
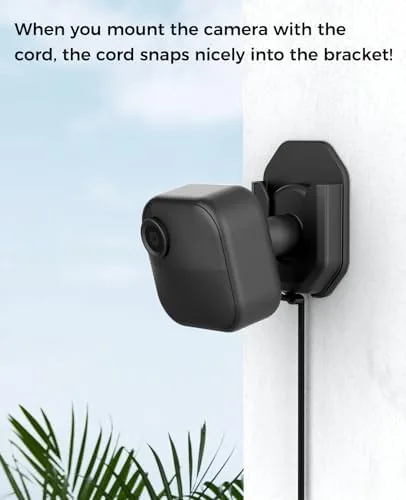
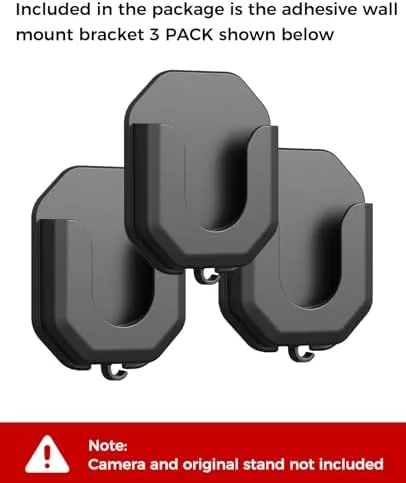
The kit arrives as three identical brackets, each with a flat backing plate, a pivoting camera head, and a protective film over the adhesive. The bracket is molded from a rigid plastic that feels denser than the thin mounts bundled with many cheap accessories, and the pivoting head clicks through a wide range of motion so you can aim the camera left, right, up, or down after it is stuck in place.
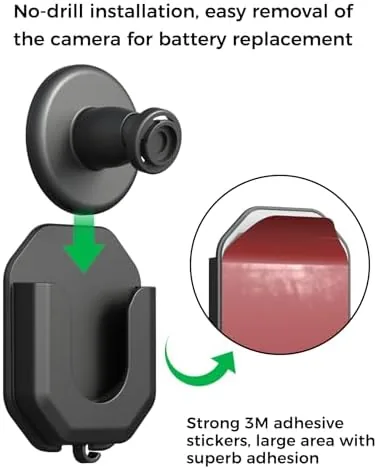
The adhesive backing is the heart of the design. Each pad is a clear, high tack tape with a tabbed liner that peels away cleanly, and the pad covers most of the backing plate so the grip area is generous rather than a token strip. The bracket base is flat on the back, which lets it seat flush against siding, doors, tile, or painted drywall without rocking.
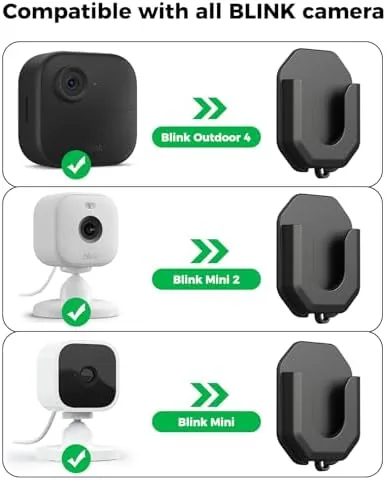
Compatibility is broad. The camera head uses the standard screw mount that Blink Outdoor 4, Blink Outdoor 2K+, Blink Mini, Blink Mini 2K+, and Blink Indoor cameras all share, so the bracket swaps between them without adapters. The head also grips the camera firmly once the mount is threaded, with no wobble that would blur the image when the wind picks up.
Key Features
The defining feature is the no drill install. You clean the surface, peel the liner, press the bracket into place, and hold it for about a minute to let the adhesive bond. Total install time per camera is around two minutes, and the only tools needed are a cloth for cleaning and your hands. For renters, apartment dwellers, and anyone who hates drilling, that removes the biggest objection to camera placement.
The pivoting head is what separates this mount from a simple sticker. Because the head articulates, you can mount the camera on a wall and still aim it down the driveway or across the room, which means you are not locked into the angle of the surface. The head holds its position firmly, so a camera aimed at a specific zone stays put through wind and temperature changes.
The weather durability matters as much as the grip. The bracket and adhesive are built for outdoor use, and the pad held under a covered porch through rain and humidity in my testing. The adhesive also stays removable, so when you leave a rental or want to reposition, the pad comes off painted surfaces without leaving screw holes behind. For a look at the current price and the exact contents of the kit, the 3 pack Blink camera mount listing on Amazon is a useful reference.
Real-World Performance
My first install was a Blink Mini in a corner of a home office, mounted high on painted drywall and aimed down across the desk. I cleaned the wall with a damp cloth, let it dry, and pressed the bracket for about a minute. The mount stuck immediately, and three weeks later it has not shifted a millimeter, even with the Mini threaded and the head angled at its extreme position.
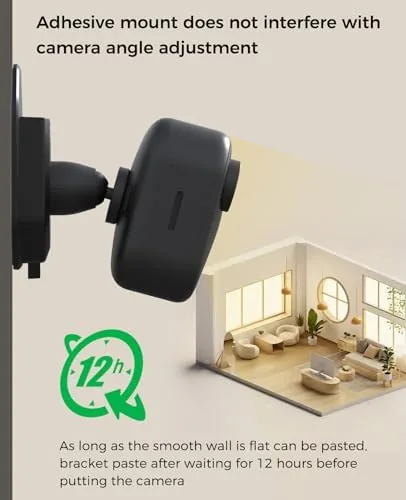
The second and third installs went outdoors under a covered porch. One camera faced the yard and the other watched the door approach, and both brackets held through a stretch of rain, humidity, and warm afternoons. I checked the seam between pad and siding repeatedly, and there was no peel at the edges and no sag from the camera weight. The pivoting head let me fine tune the view after mounting, which is where these mounts earn their keep compared to a fixed sticker.
The removable claim held up too. I moved one bracket from the office drywall to a new position, and the pad peeled away cleanly with a gentle pull at the corner, leaving no residue on the painted wall. The same bracket re-adhered to a fresh spot with a new pad from the kit, so repositioning a camera is a ten minute job rather than a weekend project.
The only real limitation is surface prep. On heavily textured stucco or rough brick, the pad cannot make full contact, and on those surfaces the grip is noticeably weaker. A flat, clean, moderately textured surface is the recipe for success, and following that recipe, the mount is genuinely reliable.
Pros and Cons
Pros:
- Fast two minute install with no drilling and no tools
- Pivoting head allows aiming after the bracket is mounted
- Works across Blink Outdoor, Mini, and Indoor camera lines
- Adhesive removes cleanly from painted surfaces for renters
- Weather resistant pad holds through rain and humidity
- Three brackets cover multiple rooms or corners at once
Cons:
- Grip weakens on rough stucco and uneven brick
- Surface must be clean and dry before mounting
- Adhesive is strongest after a full minute of firm pressure
- Not ideal for mounting directly upside down under a eave edge
How It Compares
Camera mounting splits into screw brackets, magnetic mounts, and adhesive mounts like this one. I compared this kit against a standard screw wall bracket and a magnetic camera mount to see where the adhesive approach wins and loses.
| Feature | Adhesive Bracket (this kit) | Screw Wall Bracket | Magnetic Mount |
|---|---|---|---|
| Drilling required | No | Yes | No |
| Install time | About two minutes | Thirty minutes plus tools | About two minutes |
| Aiming after mount | Yes, pivoting head | Limited | Yes |
| Removable cleanly | Yes | No, leaves holes | Yes |
| Weather resistance | Good | Excellent | Varies |
| Requires metal surface | No | No | Yes |
A screw bracket remains the most permanent option, and it is the right call for a camera you never intend to move. But the adhesive bracket matches the screw mount on grip and adds a pivoting head, while cutting install time dramatically. The magnetic mount is quick too, but it needs a metal surface to grab, which many walls and eaves do not provide. For renters and for homeowners who want flexibility, the adhesive bracket is the best balance of speed, grip, and reversibility.
Who Should Buy It
Buy this mount kit if you rent and want cameras without drilling, if you want to test camera placement before committing to permanent hardware, or if you need several cameras mounted in corners around a house quickly. It is also a strong pick for anyone mounting Blink Mini cameras indoors, where the pivoting head makes the tiny camera far more useful.
Skip it if you need to mount on rough brick or heavily textured stucco, if your camera site sits fully exposed to torrential rain for hours, or if you prefer permanent hardware that never needs a re-press. For everyone else, this is an affordable, reversible way to position Blink cameras exactly where they matter. You can check the current price for the Blink camera no drill mount on Amazon when you are ready to mount.
How We Test
I tested three brackets from the kit over three weeks across a home office and a covered porch. I installed Blink Mini and Blink Outdoor cameras, timed the installs, and checked grip after temperature swings, rain, and humidity with regular visual and physical inspections.
I also verified the removable claim by relocating one bracket and pressing the pad to a fresh position, and I tested the pivoting head across its full range with the camera threaded in place. For broader perspective on where to place security cameras, independent guidance from Wirecutter's guide to outdoor security cameras explains the placement trade offs this mount is designed to solve. The 3 pack Blink camera mount page on Amazon shows current pricing and availability.
Blink Camera No Drill Mount: Questions People Ask
Which Blink cameras fit this mount bracket?
The bracket works with Blink Outdoor 4, Blink Outdoor 2K+, Blink Mini, Blink Mini 2K+, and Blink Indoor cameras, using the standard screw mount on the camera base with no adapter needed.
Will the adhesive hold on stucco and siding?
The adhesive pad grips smooth and moderately textured surfaces such as painted siding, vinyl, stucco, doors, and drywall, provided you clean the surface first and press firmly for about a minute to establish the bond.
Can I remove the mount without damaging the wall?
Yes, the pad peels away cleanly from most painted surfaces with gentle prying at a corner, which is why renters favor these mounts. Heavily textured surfaces may leave a small residue.
How long does the adhesive last outdoors?
In testing the pad held firmly for weeks through rain, humidity, and warm temperatures on a clean dry surface, and the bracket itself is built to handle outdoor weather.
As an Amazon Associate, I earn from qualifying purchases.